When we first meet Lucina in Nintendo’s Fire Emblem: Awakening, she appears disguised as the legendary hero Marth wearing a dark navy mask that shields her eyes. Though the design initially appears complex, by breaking it down into manageable parts, it’s not too challenging to create your own. Here are easy-to-follow instructions for a mask you can make in a weekend.
Getting Started
Skill: Beginner
Project type: Papier-Mâché, painting
Time: Full weekend (8+ hrs or overnight dry time required)
Materials:
- Mask base (purchase at a craft store)
- Newspaper, torn into 1-inch strips
- Poster-board or thick paper for shaping
- Glue (I prefer Elmer’s School Glue)
- Water
- Masking tape
- Scissors
- Paint brushes
- Acrylic paint
- String or cord to tie mask
- Covering for workspace – this can get messy!
- paper / plastic bowls (optional)
- For mixing glue / water
- Holding shredded newspaper
- Mixing / holding paint
Step 1: Shaping

Cut two identical pieces to create the lower mask.

Attach them to the bottom of the mask using masking tape.
Start with the mask base, available at most craft stores, this saves you a significant amount of time and is totally worth it, especially if this is your first mask. Using the poster-board, create the lower edge of Lucina’s mask by tracing a shape that looks similar to the lower half of a butterfly’s wing. Cut the shape out, and use it to trace an identical one for the other side. With the two shapes cut, tape them to the bottom of the mask base using masking tape.
Step 2: Papier-Mâché
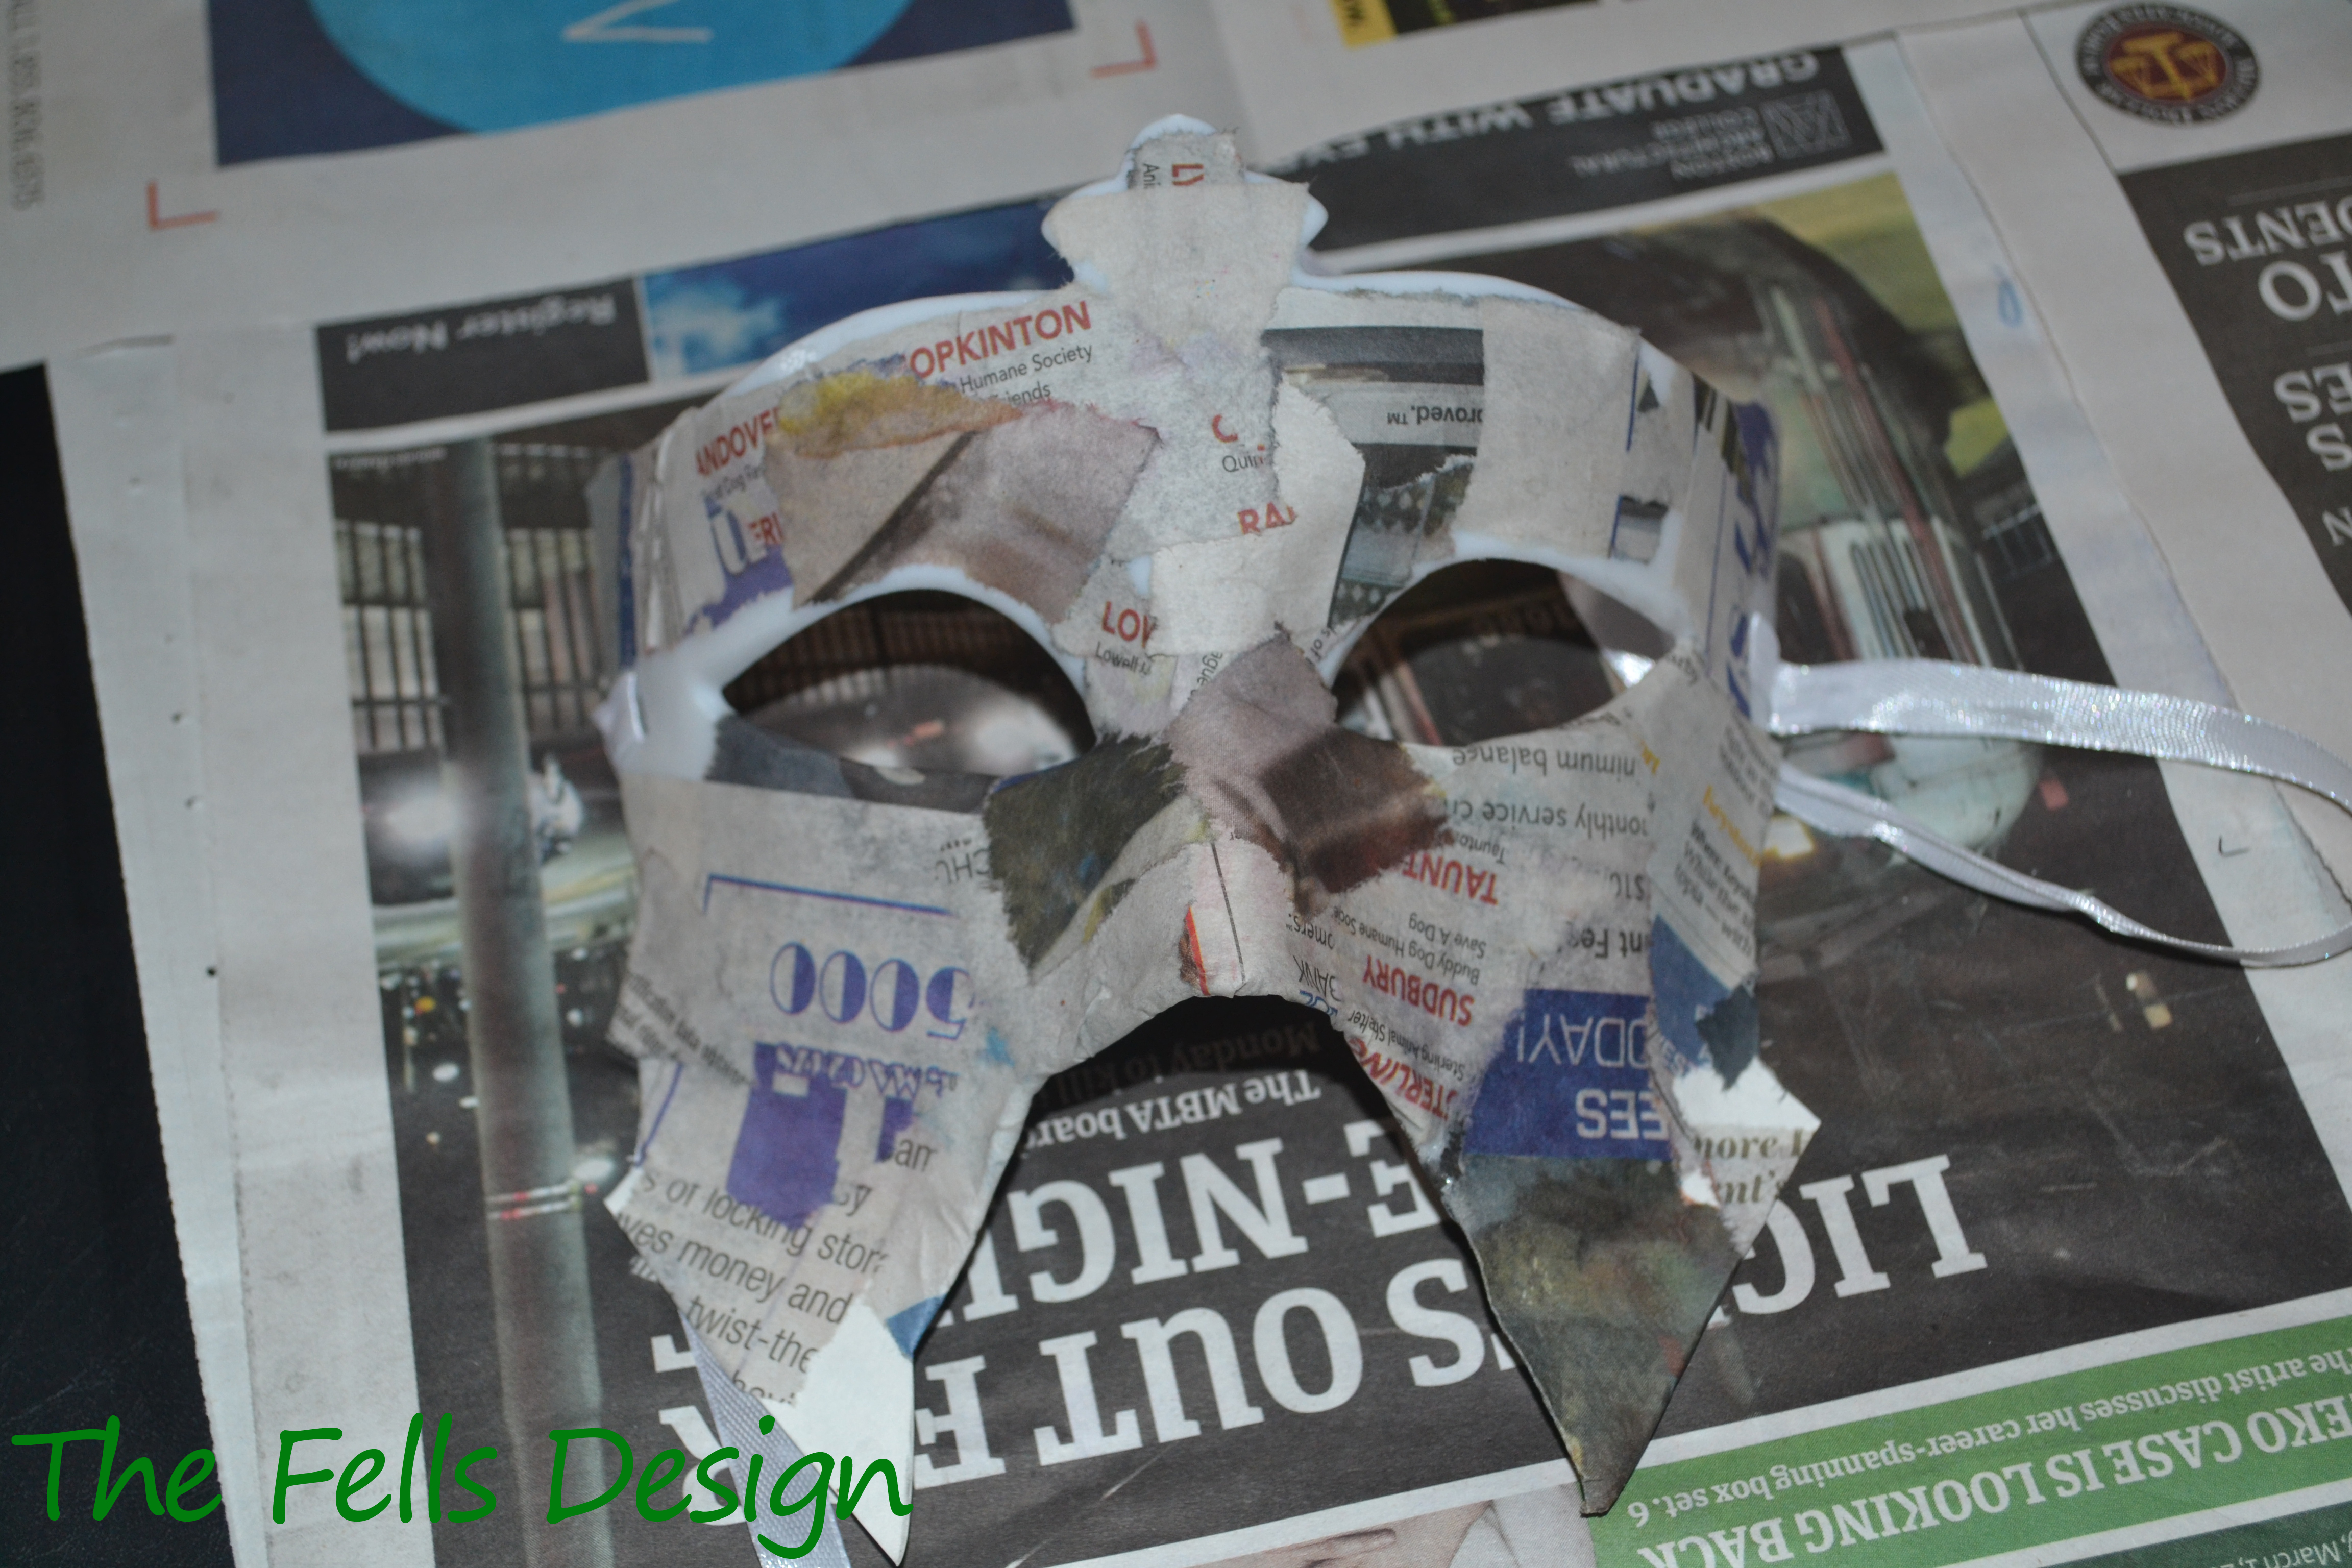
Messy but worth the effort – Papier-Mâché strengthens your mask.
Definitely take a few minutes to prep your workspace, because this step can get very messy. We’ll use Papier-Mâché to secure the poster-board cutouts to the mask and create a well-balanced piece. Use a paper bowl to mix the Papier-Mâché. There are many recipes available online, but this is the one is the one I prefer because it’s very simple:
Easy Papier-Mâché Mix
-
3 parts glue
-
1 part water
Mix these together until combined. You’ll want the substance to be fluid but not runny.
Dip the strips of newspaper into the glue mixture, using your fingers to remove the excess. Gently apply the strips to the mask, concentrating on covering the poster-board for support and securing where it attaches to the mask. Take care to smooth any ridges or air bubbles out while the glue is wet. TIP: Don’t cover the holes for the ribbon to tie the mask on, or you’ll have to punch them through later.
Let dry completely, for 6-8 hours or overnight.
Step 3: Apply a Base Coat
Newspaper is great for using in Papier-Mâché because its thin, inexpensive, and a great way to recycle. The downside? The black ink will show through projects unless you apply a solid base coat. It’s worth the extra effort.
Paint the entire mask white. I like acrylics because they’re easy to use and dry fast. Let the mask dry completely, 1-3 hours depending on how thick of a layer you’ve painted. Apply a second coat of white paint across the entire mask. This will ensure that your base coat is even, and will make your decorative paint colors appear more uniform across the mask. Let dry completely.
Step 4: Painting – The Fun Part

Three CosPlay Masks with a white base to cover over the ink from the newspaper

Navy base coat on Lucina’s Mask

Here the detailing is first painted in white and then painted over with the gold to emphasize the color.
My favorite part of the mask project: Painting! For the Lucina mask, begin with a base of dark Navy blue. If you have navy paint – great! If not, mix small (and I mean tiny!) amounts of black paint in with a dollop of primary blue until you reach the desired shade. It’s better to start small and mix more black in, than to go in too strong and waste a lot of blue paint to get the hue right. I like to use a larger brush for this part.
When the navy dries, using a small brush, paint the detail in white. This thin white layer will dry quickly, and then you can go over it with gold. I find that this method is easier than trying to keep white boarders while painting the mask navy. It does require a little more patience and a steady hand, but the results are worth it. Even though acrylics layer really well, I find that the white base allows the color to pop more – so the white base will help the gold paint stand out better. Let dry completely.
Step 5: Finishing Touches

The completed Lucina CosPlay Mask
The mask isn’t complete without a way to wear it. Here are a few options arranged by difficulty:
Easy: Purchase a pre-strung mask, it’ll already be fit to size and ready to wear
Medium: Cut two lengths of string and tie the ends of each through the holes. Leave the second ends loose to tie around the head to wear.
Hard: Cut elastic cord 1-2 inches longer than the snug length around head. Thread an end through the mask hold and hand sew to attach. Repeat on the other side, ensuring that the mask will fit snugly on the face without falling off or giving the wearer a headache.
Now your mask is ready to wear.
Challenge your fate, and happy crafting!


